Table of Contents
Learn to build debris huts, lean-tos, and natural shelters with expert tips on site selection, materials, and insulation...
Jordan Myers
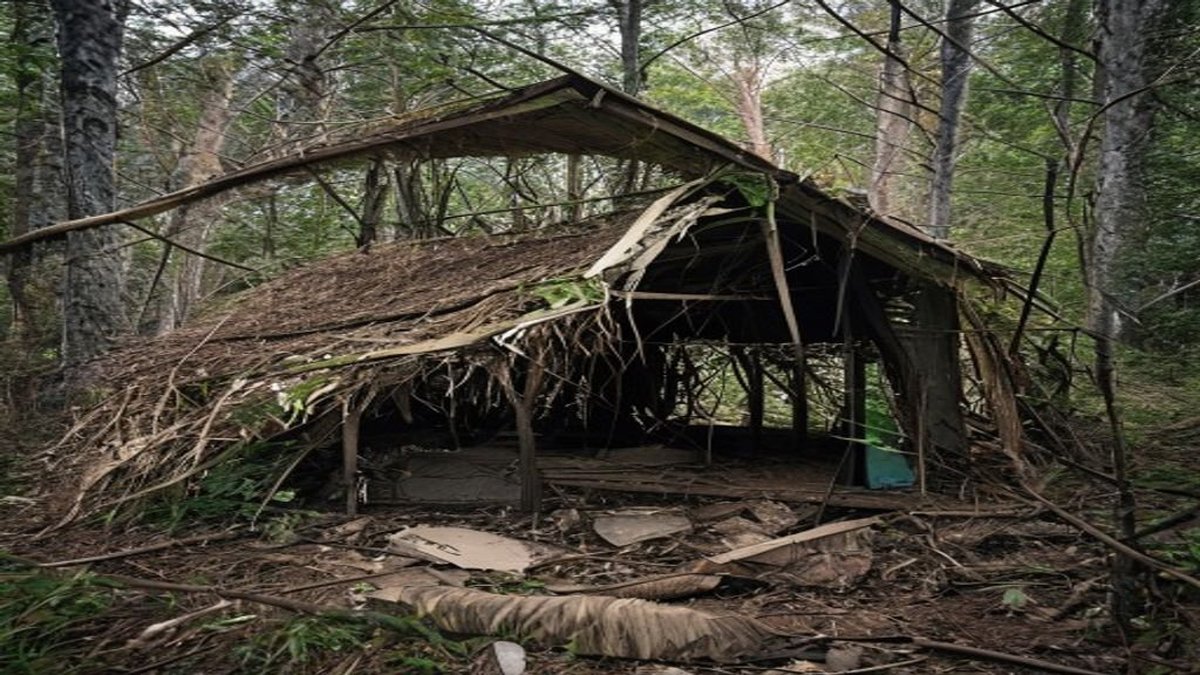
Learn to build debris huts, lean-tos, and natural shelters with expert tips on site selection, materials, and insulation...
When you're miles from the nearest trailhead, a tent isn't your only option. Building a shelter from natural materials can save your life if gear fails or weather turns faster than expected. It also deepens your connection to the landscape—you learn to see resources you'd normally walk past.
A well-constructed debris hut retains body heat far better than a single-wall tent. In tests, a properly sealed debris hut with 12 inches of dry leaf insulation can keep interior temperatures 20-30 degrees Fahrenheit above outside temps. That's the difference between shivering through the night and sleeping soundly.
"Most people overthink shelter building. The real skill isn't in fancy lashing—it's in understanding how heat, moisture, and wind move through the space you create. Master that, and you can sleep warm with almost nothing." — Mike Horn, survival instructor and author
Don't build in a low spot where cold air pools. Cold air sinks, so a valley floor or depression can be 10-15 degrees colder than a spot just 20 feet up a slope. Look for a flat area with good drainage—you don't want to wake up in a puddle.
Your shelter's opening should face away from the prevailing wind. In the northern hemisphere, that's usually east or southeast. Use a compass or watch the treetops to gauge wind direction. Also avoid dead standing trees (widowmakers) and dense brush that can hide animals or collect snow.
A debris hut is a small, insulated cocoon made from a frame of sticks covered with leaves, pine needles, and bark. It's the gold standard for emergency shelter because it requires no tools—just your hands and time. Start by building a ridgepole between two sturdy trees or a tree and a forked stump. The ridgepole should be at least 8 feet long and 3-4 inches thick.
Next, lean rib sticks against both sides of the ridgepole at a 45-degree angle, spacing them 6-8 inches apart. This creates the skeleton. The critical part is the insulation layer: you need at least 18 inches of dry organic material on top. Pine needles, dead leaves, and shredded bark work best. In field tests, a debris hut with 24 inches of leaf cover reduced heat loss by 60% compared to one with just 6 inches.
Your entrance should be small—just wide enough to crawl through. Block it with a bundle of leaves or a backpack once you're inside. The interior volume should be just big enough for you to sit up in. Extra space means extra cold air you have to warm with your body heat.
"I've seen people spend two hours gathering leaves for a debris hut and still end up cold. You need three times more insulation than you think. If you can see daylight through the roof, you'll lose heat fast." — Lucy Grady, wilderness medicine researcher
A lean-to is faster to build than a debris hut but offers less insulation. It's ideal for milder conditions or when you need a shelter in under 30 minutes. Find two trees spaced 6-8 feet apart, then lash a horizontal ridgepole between them at waist height. Use paracord, bank line, or strips of green bark for lashing.
Lean poles against the ridgepole at a 60-degree angle, then cover them with overlapping layers of bark, branches, and leaves. A single-pitch lean-to reflects heat from a fire placed 3-4 feet in front of the opening. A study from the U. S. Army Survival School showed that a lean-to with a fire reflector (a wall of stacked logs behind the fire) can raise the temperature in the shelter by 15-20 degrees Fahrenheit.
For extra wind protection, add side walls by weaving small branches vertically between the ridgepole and ground. This turns your lean-to into a three-sided shelter. Always test the roof by pushing up from inside—if it flexes more than an inch, add more cross-sticks.
Sometimes the best shelter is already half-built. Fallen logs, rock overhangs, and dense tree canopies can serve as natural frames. A downed log with a root ball can be hollowed out into a quick debris shelter. Just dig out the soil beneath the log, then pile leaves and branches over the opening.
Rock overhangs and caves require caution. Check for animal tracks, droppings, or bones that suggest current occupancy. Never build a fire under a rock overhang—heat can crack the rock and send debris down. Instead, use the rock as a windbreak and build your sleeping area 2-3 feet from the back wall to avoid condensation dripping on you.
Snow caves are another option in winter. A well-built snow cave with a 3-foot-thick ceiling can maintain a temperature of 32 degrees Fahrenheit even when outside temps drop to 0 degrees. The key is to build a raised sleeping platform and a small ventilation hole near the ceiling.
"The best natural shelters are the ones you hardly have to build. A hollow stump, a thicket of evergreens, a fallen tree—they all offer a head start. Your job is to improve the existing structure, not reinvent it from scratch." — Tom Brown Jr., tracker and survival author
Your shelter is only as warm as the insulation between you and the ground. The earth siphons body heat faster than air—up to 25 times faster. That means a 2-inch layer of leaves under you is worth more than a 12-inch layer on the roof. Always build your sleeping platform first: gather a thick pile of dry leaves, pine needles, or moss, and fluff it up to at least 6 inches deep.
If you have a space blanket or emergency bivvy, place it under your bedding to reflect heat back up. In tests by the British Ministry of Defence, adding a reflective layer under natural bedding improved core temperature retention by 8-10 degrees Fahrenheit over a 6-hour period. Also stuff dry leaves or grass into your clothing—especially around your torso and neck—to add another inch of insulation.
Finally, always build your shelter well before dark. On average, it takes 1.5 to 2 hours to gather enough material for a single-person debris hut. Start at least 3 hours before sunset to account for mistakes or fatigue. That extra hour of daylight can mean the difference between a warm night and a dangerous one.
A well-designed survival kit fits in a small pouch but contains items that address the top priorities: shelter, water, fire, and signaling. Include a space blanket or emergency bivvy for shelter, a reliable fire starter like a ferro rod, water purification tablets, a whistle for signaling, and a small first aid kit. Carry this kit on every outdoor adventure, even short day hikes, because emergencies rarely happen when you are fully prepared.
Survival experts agree that mindset often determines outcomes more than gear or skill. The will to survive keeps people alive in situations where rescue seems impossible. Focus on small, achievable goals rather than overwhelming yourself with the full scope of the situation. Use the STOP acronym: Stop, Think, Observe, Plan. Take deliberate action rather than panicking. Many survivors credit their positive attitude and refusal to give up as the deciding factor.
Finding safe drinking water is one of the most immediate survival priorities. Look for water sources in valleys, at the base of cliffs where seeps emerge, and where vegetation is greener than the surrounding area. Morning dew collected with an absorbent cloth provides a surprising amount of water. In snow conditions, melt snow rather than eating it directly, which lowers body temperature and increases dehydration risk.
A well-designed survival kit fits in a small pouch but contains items that address the top priorities: shelter, water, fire, and signaling. Include a space blanket or emergency bivvy for shelter, a reliable fire starter like a ferro rod, water purification tablets, a whistle for signaling, and a small first aid kit. Carry this kit on every outdoor adventure, even short day hikes, because emergencies rarely happen when you are fully prepared.
Survival experts agree that mindset often determines outcomes more than gear or skill. The will to survive keeps people alive in situations where rescue seems impossible. Focus on small, achievable goals rather than overwhelming yourself with the full scope of the situation. Use the STOP acronym: Stop, Think, Observe, Plan. Take deliberate action rather than panicking. Many survivors credit their positive attitude and refusal to give up as the deciding factor.
Finding safe drinking water is one of the most immediate survival priorities. Look for water sources in valleys, at the base of cliffs where seeps emerge, and where vegetation is greener than the surrounding area. Morning dew collected with an absorbent cloth provides a surprising amount of water. In snow conditions, melt snow rather than eating it directly, which lowers body temperature and increases dehydration risk.