Table of Contents
Essential trail running navigation skills including map reading, GPS use, route marking, and what to do when you get lost on the trail.
Jordan Myers
Essential trail running navigation skills including map reading, GPS use, route marking, and what to do when you get lost on the trail.
Essential trail running navigation skills including map reading, GPS use, route marking, and what to do when you get lost on the trail.
Getting lost on a trail run ranges from a minor inconvenience to a serious safety hazard depending on conditions, distance from civilization, and weather. Unlike road running, where streets have signs and consistent naming, trail networks can be confusing with unmarked junctions, intersecting user-created paths, and seasonal trail closures. Navigation skills are not optional for trail runners who venture beyond well-known local routes.
The energy cost of getting lost compounds quickly. An extra mile of unintended running when you are already fatigued can turn a manageable run into an exhausting ordeal. In remote areas or bad weather, navigation errors can lead to hypothermia, dehydration, or injury. Investing time in learning navigation skills is as important as building your endurance.
The trail does not care about your split times. It will not reveal a hidden junction just because you are tired. Navigation is a skill that must be practiced and respected, not an afterthought that you figure out when you are lost.
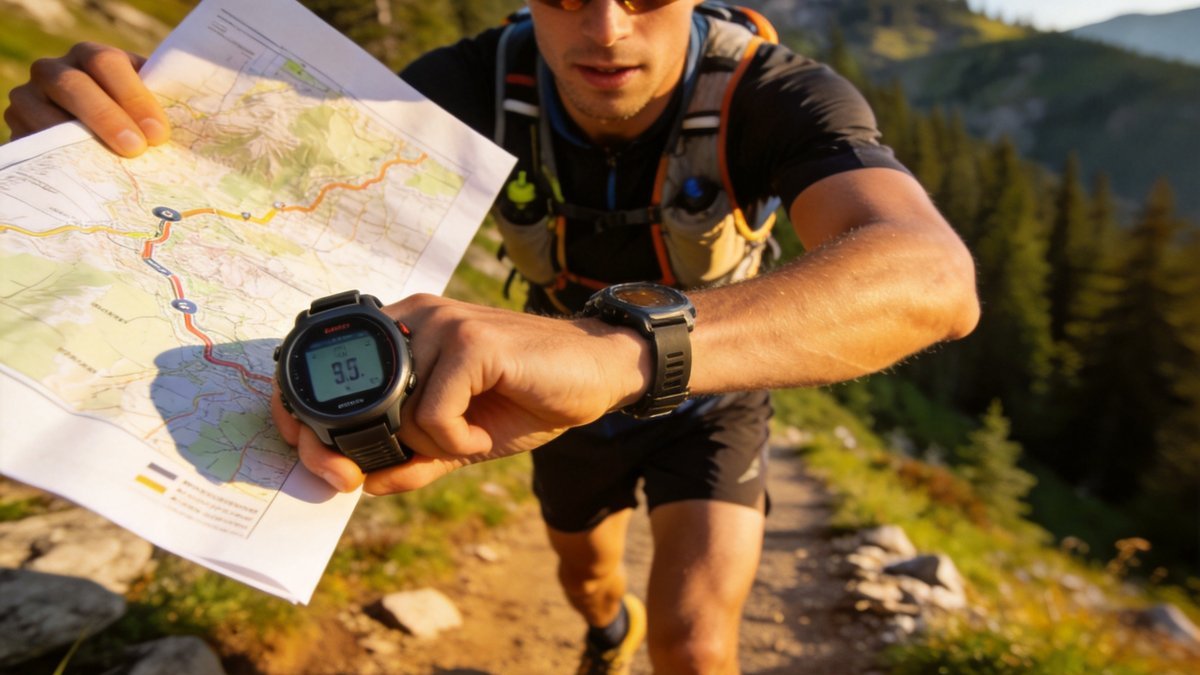
Paper trail maps remain the gold standard for navigation because they do not require batteries or cell service. Learn to read contour lines, which indicate elevation changes. Closely spaced contour lines mean steep terrain. Understand map legends including trail difficulty ratings, water sources, trailhead locations, and points of interest.
Trail signs vary widely between trail networks. Learn common signage systems including blazes (paint marks on trees), cairns (stacked rocks), and posts. Most trail networks use a color-coded blaze system where different colored blazes correspond to different named trails. Understanding which color corresponds to your intended route is essential before you start running.
GPS watches and smartphone apps have transformed trail running navigation. Watches from Garmin, Coros, and Suunto offer breadcrumb navigation with pre-loaded routes. Smartphone apps including All Trails, Gaia GPS, and Trailforks provide detailed trail maps with your location overlaid. Download maps for offline use before heading out, as cell service is unreliable in most trail areas.
Battery management is a practical concern for GPS navigation. Watches typically last 10-30 hours in GPS mode depending on the model. Smartphones drain faster, especially with the screen on. Carry a power bank for long runs and consider using airplane mode to extend battery life. Some watches offer route navigation with turn-by-turn directions that minimize screen-on time.
The most reliable navigation technique is to check your location frequently rather than waiting until you are unsure. Stop at every trail junction and confirm your route before proceeding. Use handrails such as rivers, ridgelines, and power lines as reference features. Set your watch or phone to beep at regular intervals as a reminder to check your location.
A technique called attack pointing involves navigating to a prominent, easily identifiable feature near your destination rather than the exact destination itself. Once you reach the feature, you can reorient and navigate the final section. This reduces the precision required in the critical last section of navigation.
Check your map at every junction. It sounds excessive, but it takes five seconds and prevents the cumulative navigation errors that lead to getting seriously lost. Most runners who get lost did so because they passed a junction thinking they would recognize the next one, and then nothing looked familiar.
The first rule of getting lost is to stop. Continuing to run when you are uncertain only compounds the problem. Check your map or GPS, retrace your last confirmed location, and consider backtracking to the last point where you knew your position. If you cannot determine your location, stay put if you are prepared for an extended stay, or follow a drainage downhill, which typically leads to trails or roads.
Carry a whistle and know the universal distress signal: three blasts, repeated every minute. If you have cell service but no data, dial 911. Emergency services can triangulate your location even without GPS coordinates. If you carry a satellite messenger or personal locator beacon, activate it only if you are truly in an emergency situation with injury or inadequate supplies for an unplanned overnight stay.
Every trail runner should carry a basic navigation kit: a map of the area (paper or downloaded), a compass or GPS device, a headlamp with extra batteries even for day runs (trail delays can extend into darkness), and a whistle. For remote area runs, add a satellite messenger or PLB. Practice using your navigation tools before you need them in a stressful situation.
On the Pacific Crest Trail near the Sierra Nevada's Donner Pass, the junction between the PCT and the Mount Judah Loop is notoriously easy to miss at a fast run. The trail splits at a granite outcropping roughly 1.2 miles from the trailhead, where the PCT continues straight while the loop veers right. Runners who have pre-loaded a route from Gaia GPS onto a Garmin Fenix 7 can set a proximity alert that vibrates 100 meters before this junction, providing a tactile cue that does not require glancing at the watch. For paper map users, folding a USGS 7.5-minute quadrangle to show only the relevant section reduces visual clutter and allows for quicker contour line interpretation.
The technique of "aiming off" is particularly effective on rolling terrain like the single-track loops at Oregon's Smith Rock State Park. Instead of aiming directly for a trail junction that may be hidden behind a ridgeline, a runner should deliberately aim to the left or right of the target, hitting a known feature like the Misery Ridge trail's 0.6-mile marker. From that offset point, the runner knows which direction to turn to reach the junction, eliminating the guesswork of whether the junction was passed. This method works well with a Suunto Vertical watch's compass bearing feature, which can be set to show a constant heading relative to true north. Carrying a Silva Ranger compass as a backup, even when using GPS, ensures that if the watch battery dies at mile 15 of a 20-mile run, the runner can still take a bearing from the map.
In the dense trail network of Colorado's Boulder Open Space and Mountain Parks, where trails like the Mesa Trail intersect with multiple unmarked social paths, the "handrailing" technique becomes essential. Runners can use Bear Peak's prominent ridge as a handrail, staying on the ridge's east side where the trail is most defined, and avoid descending into the confusing drainage below. When the trail crosses a dry creek bed at approximately the 3.4-mile mark, a runner should stop to confirm the route using a paper map from National Geographic's Trails Illustrated series, which shows these ephemeral features. If the map indicates a 90-degree turn at this point but the trail ahead continues straight, the runner has likely missed a cairn or faded blaze, and should backtrack 50 meters to find the correct path. This systematic check at every potential error point prevents the cumulative drift that leads runners off course by a half-mile or more in just a few junctions.
Developing a consistent navigation routine keeps you oriented throughout the day. Every time you stop for a water break or snack, pull out your map and identify your current location. Note the next landmark you expect to see and the approximate time to reach it. This habit of regular map checks prevents the gradual disorientation that leads to getting lost. Experienced hikers recommend taking a bearing every 30 to 45 minutes in unfamiliar terrain, even when the trail seems obvious.
Before any hike, study the route on a map and identify key waypoints, bailout points, and potential hazards. Note the direction of ridges, valleys, and water features so you can use them as natural handrails. Share your planned route with someone who will notice if you do not return on time. Proper pre-trip planning transforms a potentially stressful navigation challenge into an enjoyable day on the trail.
When hiking in a group, designate a dedicated navigator rather than assuming everyone knows the route. This prevents the common scenario where each person thinks someone else is leading. At every junction, confirm the correct direction as a group before proceeding. A quick group check takes thirty seconds but can save hours of backtracking if the wrong turn is taken.
Developing a consistent navigation routine keeps you oriented throughout the day. Every time you stop for a water break or snack, pull out your map and identify your current location. Note the next landmark you expect to see and the approximate time to reach it. This habit of regular map checks prevents the gradual disorientation that leads to getting lost. Experienced hikers recommend taking a bearing every 30 to 45 minutes in unfamiliar terrain, even when the trail seems obvious.