Table of Contents
Master hiking navigation with essential map reading, compass use, and GPS backup skills. Learn to navigate confidently in any terrain without depending on your phone.
Jordan Myers
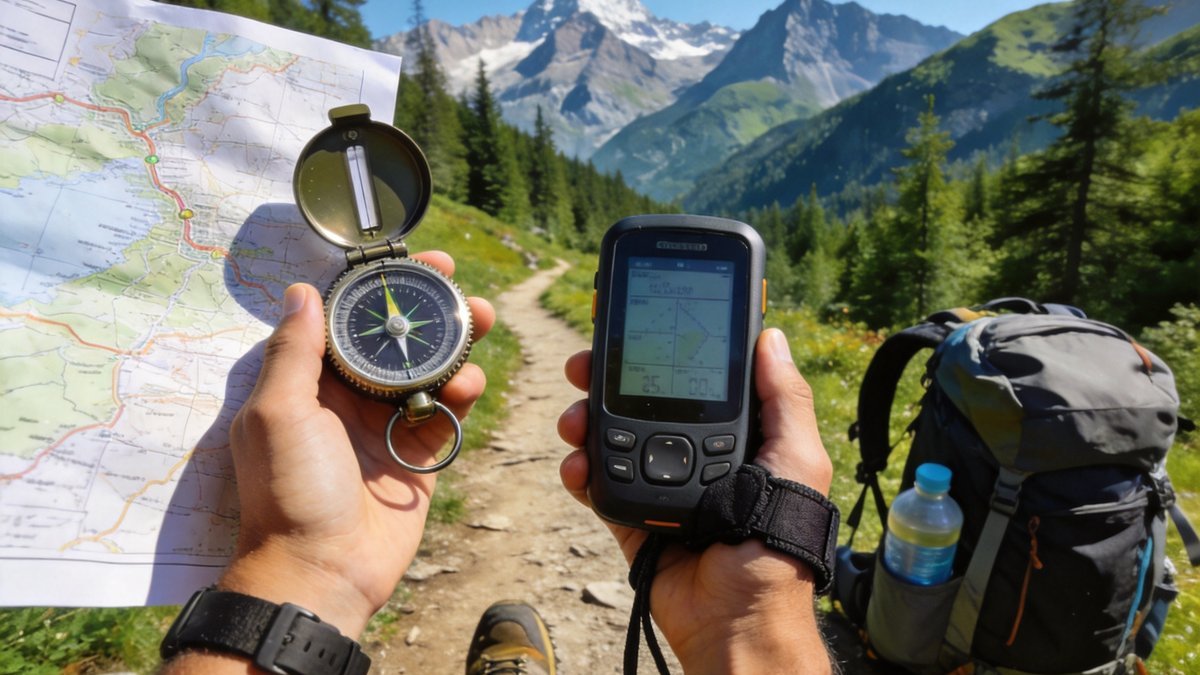
Master hiking navigation with essential map reading, compass use, and GPS backup skills. Learn to navigate confidently in any terrain without depending on your phone.
Navigation is the most critical backcountry skill you can develop. A hiker who can read a map and use a compass is never truly lost, only temporarily uncertain of their location. While smartphone GPS apps have made navigation more accessible, batteries die, screens break, and signals fade. Building solid navigation skills gives you confidence to explore beyond well-marked trails.
Topographic maps represent three-dimensional terrain on a two-dimensional surface using contour lines. Each contour line connects points of equal elevation, and the spacing between lines reveals the steepness of the terrain. Close contour lines indicate steep slopes, while widely spaced lines represent gentle terrain. Index contours, printed more heavily every fifth line, help with counting elevation changes. Learn to identify terrain features like ridges, valleys, peaks, saddles, and drainage patterns on the map. Ridges appear as contour lines forming V shapes pointing downhill. Valleys show V shapes pointing uphill. Practice matching map features to real terrain by taking a map to a familiar area and identifying what you see. USGS 7.5-minute quadrangles provide the most detail for hikers, while National Geographic Trails Illustrated maps offer durability and trail-specific information.
A baseplate compass with a rotating bezel, declination adjustment, and sighting mirror provides reliable navigation in any conditions. Learn three essential compass skills: orienting the map to north, taking a bearing from the map, and following a bearing in the field. To orient your map, set the compass declination to your local magnetic declination, then rotate the map until the north-south grid lines align with the compass needle. To take a bearing, place the compass on the map with the direction of travel arrow pointing from your location to your destination. Rotate the bezel until the orienting lines align with the map's north-south grid lines. Read the bearing at the index line. To follow a bearing, hold the compass level in front of you and rotate your body until the magnetic needle aligns with the orienting arrow. Walk in the direction of the travel arrow.
GPS devices and smartphone apps provide valuable navigation assistance but should supplement rather than replace traditional skills. Apps like All Trails, Gaia GPS, and Caltopo offer offline map downloads, track recording, and waypoint marking. Download maps for your entire route while you have cell service or Wi-Fi, as backcountry cell coverage is unreliable. Carry a dedicated power bank to recharge your device, as GPS usage drains batteries quickly. Airplane mode with GPS enabled saves significant battery compared to cellular mode. Set waypoints at trail junctions, campsites, water sources, and your starting point. Use the backtrack feature if you need to return to your starting point. Despite their convenience, electronic devices fail. Screens break, devices get wet, and batteries die. The compass and map in your pack do not have these limitations.
Understanding natural navigation methods provides valuable backup when map, compass, and GPS are unavailable. The sun rises in the east and sets in the west, providing a rough direction reference throughout the day. At noon in the northern hemisphere, the sun is due south. Shadows point north at midday. Moss growth on trees tends to be heavier on the north side in the northern hemisphere, though this is a general tendency rather than a reliable rule. Prevailing wind patterns shape trees and vegetation, with branches often pointing away from the dominant wind direction. The North Star, Polaris, remains fixed above the north horizon and provides reliable nighttime navigation. Find the Big Dipper and follow the two stars at the end of its bowl to locate Polaris. These natural cues supplement formal navigation tools and help maintain general orientation.
The most important navigation rule in the backcountry: if you are not sure where you are, stop before you get more lost. Continuing when uncertain almost always takes you farther from your intended route. Stop, pull out your map and compass, and systematically determine your location before moving.
Technology has made navigation easier, but it has also made more people lost. The hiker who depends entirely on a phone is one broken screen away from an emergency. The hiker who carries a map and knows how to use it is prepared for anything.
USGS 7.5-minute topographic quadrangles provide the most detailed terrain information. National Geographic Trails Illustrated maps add trail-specific information and greater durability. Waterproof and tear-resistant map materials are worth the extra cost. For most hiking, a scale of 1:24,000 provides excellent detail without being unwieldy.
Check your position at every trail junction, at least every 30 minutes in unfamiliar terrain, and whenever the trail condition or surroundings change significantly. Regular checks prevent the gradual drift that leads to getting lost. Make it a habit to look at your map before and after every significant landmark.
Yes. Phones break, batteries die, screens crack, and water damage occurs. A compass and map weigh almost nothing and work in any conditions. Consider your phone as a convenience and your map and compass as your primary navigation tools. This mindset prevents over-reliance on electronics.
Declination is the difference between true north and magnetic north, which varies by location. Most of North America has an eastern declination of 10 to 20 degrees, meaning your compass needle points east of true north. Failing to adjust for declination can cause navigation errors of miles over a long day of hiking. Set your compass declination before your trip.
Developing a consistent navigation routine keeps you oriented throughout the day. Every time you stop for a water break or snack, pull out your map and identify your current location. Note the next landmark you expect to see and the approximate time to reach it. This habit of regular map checks prevents the gradual disorientation that leads to getting lost. Experienced hikers recommend taking a bearing every 30 to 45 minutes in unfamiliar terrain, even when the trail seems obvious.
Before any hike, study the route on a map and identify key waypoints, bailout points, and potential hazards. Note the direction of ridges, valleys, and water features so you can use them as natural handrails. Share your planned route with someone who will notice if you do not return on time. Proper pre-trip planning transforms a potentially stressful navigation challenge into an enjoyable day on the trail.
When hiking in a group, designate a dedicated navigator rather than assuming everyone knows the route. This prevents the common scenario where each person thinks someone else is leading. At every junction, confirm the correct direction as a group before proceeding. A quick group check takes thirty seconds but can save hours of backtracking if the wrong turn is taken.
Developing a consistent navigation routine keeps you oriented throughout the day. Every time you stop for a water break or snack, pull out your map and identify your current location. Note the next landmark you expect to see and the approximate time to reach it. This habit of regular map checks prevents the gradual disorientation that leads to getting lost. Experienced hikers recommend taking a bearing every 30 to 45 minutes in unfamiliar terrain, even when the trail seems obvious.
Before any hike, study the route on a map and identify key waypoints, bailout points, and potential hazards. Note the direction of ridges, valleys, and water features so you can use them as natural handrails. Share your planned route with someone who will notice if you do not return on time. Proper pre-trip planning transforms a potentially stressful navigation challenge into an enjoyable day on the trail.
When hiking in a group, designate a dedicated navigator rather than assuming everyone knows the route. This prevents the common scenario where each person thinks someone else is leading. At every junction, confirm the correct direction as a group before proceeding. A quick group check takes thirty seconds but can save hours of backtracking if the wrong turn is taken.
Developing a consistent navigation routine keeps you oriented throughout the day. Every time you stop for a water break or snack, pull out your map and identify your current location. Note the next landmark you expect to see and the approximate time to reach it. This habit of regular map checks prevents the gradual disorientation that leads to getting lost. Experienced hikers recommend taking a bearing every 30 to 45 minutes in unfamiliar terrain, even when the trail seems obvious.
Before any hike, study the route on a map and identify key waypoints, bailout points, and potential hazards. Note the direction of ridges, valleys, and water features so you can use them as natural handrails. Share your planned route with someone who will notice if you do not return on time. Proper pre-trip planning transforms a potentially stressful navigation challenge into an enjoyable day on the trail.