Table of Contents
A well-planned route transforms a good backpacking trip into an unforgettable adventure while keeping you safe and on schedule.
Jordan Myers
A well-planned route transforms a good backpacking trip into an unforgettable adventure while keeping you safe and on schedule.
A well-planned route transforms a good backpacking trip into an unforgettable adventure while keeping you safe and on schedule.
Route planning begins long before you step on the trail. Start by choosing a wilderness area that matches your experience level and interests. Research permit requirements, seasonal weather patterns, and trail conditions through ranger stations and recent trip reports. Online resources like All Trails, Cal Topo, and hiking forums provide up-to-date information about trail conditions, water availability, and recent hazards.
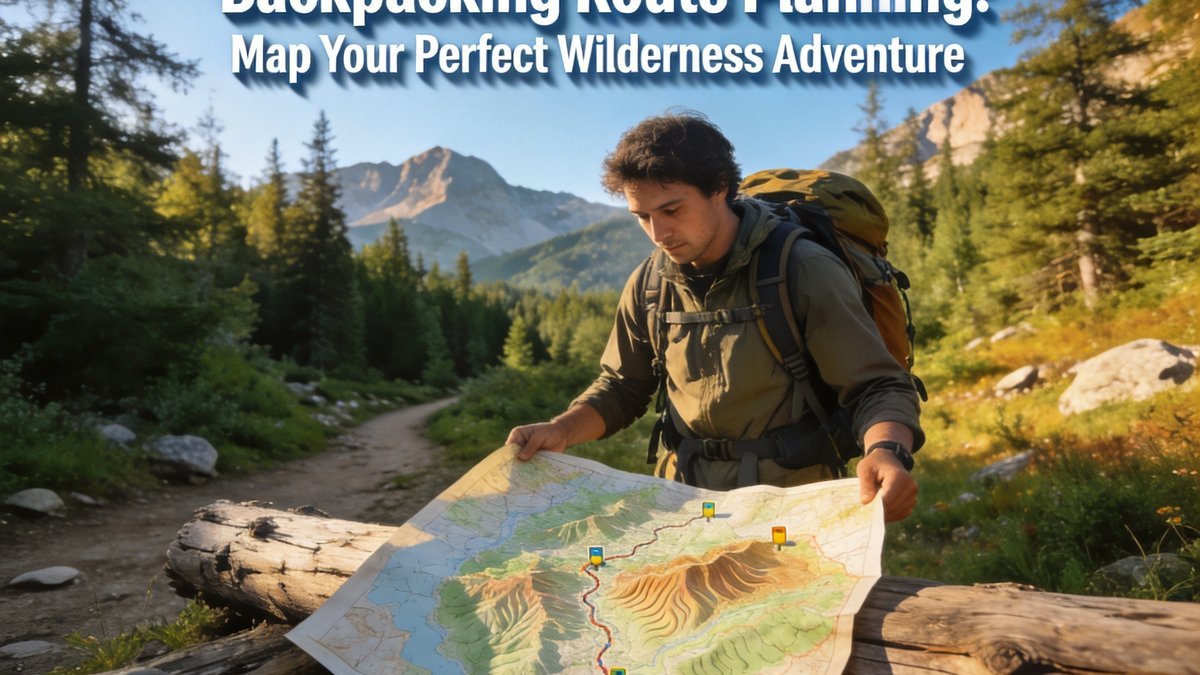
Once you have chosen your destination, study the topography. Contour lines on a topo map reveal the terrain difficulty. Tightly spaced lines mean steep climbs. Widely spaced lines indicate gentle grades. Color-coded maps like those on Cal Topo show vegetation density and open areas. Understanding the terrain helps you estimate realistic daily mileage and identify potential campsites.
Water sources determine your route more than any other factor. Mark all streams, lakes, and springs along your intended route. In dry regions, verify that seasonal water sources are flowing during your travel dates. Ranger stations and recent trip reports provide the most reliable water condition information. Plan your campsites near water sources so you do not have to carry extra weight.
Daily mileage planning requires honest self-assessment. The standard formula of 2 miles per hour plus 30 minutes per 1,000 feet of elevation gain provides a baseline for average hikers carrying full packs. Subtract 20 percent for rough terrain, heavy vegetation, or frequent stream crossings. Add 10 percent for well-maintained trails with gentle grades. Your actual pace depends on your fitness, pack weight, and the number of rest stops you take.
Build your itinerary by working backward from your exit date. Mark must-see highlights and natural camping windows. A good camping window provides level ground, nearby water, and enough daylight for setup before dark. In summer months with long daylight, you have flexibility. In spring and fall, shorter days require earlier stopping times. Plan to be at camp with at least two hours of daylight remaining.
Include buffer time in every itinerary. Weather delays, trail navigation errors, and unexpected obstacles are common in wilderness travel. A buffer of two hours per day or one zero day per week provides flexibility without compromising your schedule. If you finish early, enjoy the extra time at camp rather than pushing to the next campsite.
Modern GPS devices and smartphone apps have transformed backcountry navigation, but they have limitations. Batteries die, screens crack, electronics get wet, and satellite signals fail in deep canyons. Every backpacker should know how to navigate with a paper map and compass. These skills are not difficult to learn and provide a reliable backup when technology fails.
Pre-download your route maps before leaving home. Apps like Gaia GPS and Cal Topo allow you to download topo maps for offline use. Download at the highest available detail level for your route area. Mark waypoints at trail junctions, campsites, water sources, and potential hazards. Test your offline maps before leaving service range to make sure they render correctly.
A GPS device or satellite communicator provides navigation redundancy and emergency communication. The Garmin in Reach series offers two-way messaging and SOS functionality with pre-loaded topo maps. These devices work anywhere with a clear view of the sky and have battery life measured in days rather than hours. For solo travelers or those heading into remote areas, a satellite communicator is essential safety gear.
Many popular backpacking areas require permits with quotas. The permitting process varies by jurisdiction. Some areas use advance reservation systems with lotteries for popular dates. Others issue first-come, first-served permits at ranger stations. Research permit requirements early in your planning process. Popular routes like the John Muir Trail and Wonderland Trail often sell out within hours of the application window opening.
Shuttle logistics and trailhead access require as much planning as the route itself. Many popular routes are point-to-point, requiring a vehicle shuttle or public transportation between trailheads. Research shuttle services, parking regulations, and trailhead access roads. Some trailheads require high-clearance vehicles, while others have limited parking that fills before dawn.
Leave your complete itinerary with a trusted contact. Include daily route segments, planned campsite locations, permit numbers, and vehicle information. Provide instructions for who to call if you do not return by your expected date and time. Designate a specific person as your emergency contact rather than assuming someone will notice you are overdue.
Novice backpackers should choose well-marked, heavily traveled routes with reliable water sources and established campsites. Loop routes of 15-25 miles over 2-3 nights provide an excellent introduction. Popular trails in national parks offer good infrastructure and regular encounters with other hikers, reducing the risks associated with solo wilderness travel.
Intermediate backpackers can tackle more challenging terrain with off-trail navigation, higher elevation gains, and longer food carries. Routes of 40-60 miles over 4-6 nights build on foundational skills while introducing new challenges. Cross-country travel without a maintained trail requires strong navigation skills and careful attention to route-finding.
Advanced backpackers plan routes that include technical terrain, remote wilderness areas, and extended food carries of 7-14 days. These trips require comprehensive planning, advanced navigation skills, and the ability to handle emergencies without outside support. Advanced route planning includes contingency plans for route changes due to weather, trail conditions, or group dynamics.
"A good route plan is not a rigid schedule carved in stone. It is a flexible framework that guides your decisions while adapting to conditions on the ground. The best backpackers plan meticulously but execute with flexibility."
"The most common route planning mistake is underestimating how slow travel is with a full pack. A 10-mile day on flat terrain with a daypack becomes a 6-mile day with a 35-pound pack on rolling terrain. Plan conservatively and enjoy the extra time at camp."
Your gear choices directly affect route planning decisions. A 35-pound base pack weight limits your daily mileage to 8-10 miles on moderate terrain. A 20-pound ultralight setup allows 15-20 mile days with less fatigue. Every pound saved on gear translates to easier miles and more flexibility in route planning. Prioritize weight savings in the Big Three: shelter, sleeping bag, and backpack. Consider a trekking pole shelter that replaces both tent poles and hiking poles, saving over a pound compared to a freestanding tent.
Food weight is the most variable factor in pack weight. Plan 1.5 to 2 pounds of food per person per day, focusing on calorie density. Dehydrated meals, nuts, dried fruit, and protein bars provide 100-150 calories per ounce. Repackage all food into lightweight bags, removing cardboard boxes and excess packaging. A 5-day food carry adds 8-10 pounds that decreases daily as you consume supplies. Plan resupply points every 4-7 days on longer trips to keep total pack weight manageable. Water filtration saves carrying more than one liter at a time, reducing pack weight by 4-5 pounds compared to carrying all water.
Cal Topo is the gold standard for desktop route planning. It offers detailed topographic maps, slope shading, and custom waypoint marking. For mobile navigation, Gaia GPS and All Trails provide excellent offline map functionality. Both apps sync with Cal Topo for seamless route transfer from planning to field use.
Use Cal Topo or USGS topographic maps to identify streams, lakes, and springs along your route. Look for perennial streams shown as solid blue lines. Dashed blue lines indicate intermittent streams that may be dry during certain seasons. Call the local ranger station for current water conditions before your trip.
Yes, especially on trips lasting more than four days. Your body needs recovery from continuous hiking with a loaded pack. Plan a zero day every 4-7 days where you stay at camp, rest, and enjoy the area without hiking to a new location. Zero days also provide weather buffers for unexpected storms.
Start planning at least two to three months before your trip for popular destinations that require permits. Permit lotteries for many iconic routes open 6-9 months in advance. For less popular areas without permit quotas, one month of planning provides adequate time for route research, gear preparation, and physical training.
Developing a consistent navigation routine keeps you oriented throughout the day. Every time you stop for a water break or snack, pull out your map and identify your current location. Note the next landmark you expect to see and the approximate time to reach it. This habit of regular map checks prevents the gradual disorientation that leads to getting lost. Experienced hikers recommend taking a bearing every 30 to 45 minutes in unfamiliar terrain, even when the trail seems obvious.
Before any hike, study the route on a map and identify key waypoints, bailout points, and potential hazards. Note the direction of ridges, valleys, and water features so you can use them as natural handrails. Share your planned route with someone who will notice if you do not return on time. Proper pre-trip planning transforms a potentially stressful navigation challenge into an enjoyable day on the trail.