Table of Contents
Complete bikepacking guide covering gear selection, route planning, packing systems, and essential skills for multi-day mountain bike camping trips.
Jordan Myers
Complete bikepacking guide covering gear selection, route planning, packing systems, and essential skills for multi-day mountain bike camping trips.
Complete bikepacking guide covering gear selection, route planning, packing systems, and essential skills for multi-day mountain bike camping trips.
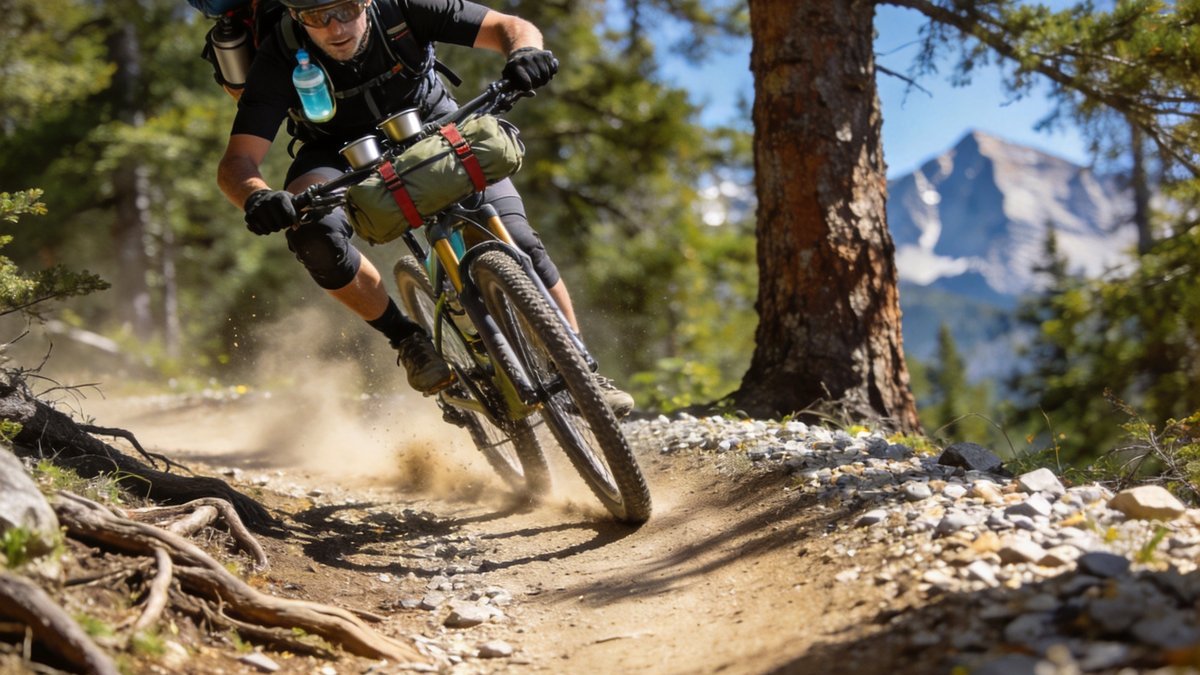
Bikepacking combines mountain biking with lightweight backpacking, allowing riders to explore remote terrain over multiple days while carrying all their camping gear on their bikes. Unlike traditional bicycle touring, bikepacking uses frame bags, handlebar rolls, and seat packs instead of panniers. This keeps weight centered and allows riding on technical singletrack that would be impossible with touring racks and bags.
Bikepacking has exploded in popularity over the past decade as gear has become lighter and trail networks have expanded. Modern bikepacking setups can weigh as little as 15-20 pounds of gear, allowing riders to cover 30-60 miles per day on mixed terrain while carrying everything needed for multi-day self-supported adventures.
Bikepacking is the purest form of mountain bike adventure. You carry everything you need on your bike, sleep under the stars, and wake up to ride another day in places that most people never see. It is freedom on two wheels.
A bikepacking gear system consists of three primary bag types. A handlebar roll holds your sleeping bag and pad in a lightweight dry bag strapped to the bars. A seat pack carries clothing and bulkier items behind the saddle. A frame bag fills the main triangle of the frame with heavy items like tools, food, and cooking gear. Top tube bags and accessory pouches provide extra storage for items you need during the ride.
Your bike choice matters significantly. Hardtail mountain bikes are popular for bikepacking due to their simplicity, reliability, and efficiency. Full suspension bikes work well on rougher terrain but require more bag space management around the rear shock. Steel frames are favored by many bikepackers for their durability, comfort, and repairability in remote areas.
Successful bikepacking depends on minimizing gear weight and volume. Choose a backpacking tent or tarp shelter, a down sleeping quilt instead of a bag, and a lightweight inflatable pad. Cook with an ultralight isobutane stove system. Every ounce counts when you are climbing thousands of feet over multiple days with everything on your bike.
Bikepacking routes require careful planning that balances rideable terrain with reasonable daily mileage. Popular resources include Bikepacking. com, which features hundreds of curated routes with GPS tracks, water sources, resupply points, and camping options. The Arizona Trail, Colorado Trail, and Great Divide Mountain Bike Route are iconic multi-day bikepacking routes.
Navigation during bikepacking trips typically combines GPS devices or smartphone apps with paper maps as backup. Download offline maps before leaving cell service. Carry a power bank for recharging electronics, and plan routes that pass through towns every 2-3 days for resupply. Water availability is the most critical factor in route planning.
The best bikepacking trips are within your reach. Start with an overnight trip within 50 miles of home to test your gear and systems before committing to a week-long adventure. The mistakes you make on a one-night trip are learning experiences. The same mistakes on day three of a week-long trip can end your ride.
Bikepacking requires significantly more calories than day riding, typically 4,000-6,000 calories per day depending on terrain and load. Plan meals that balance weight, nutrition, and ease of preparation. Dehydrated meals work well for dinners. Oatmeal, tortillas with peanut butter, and trail mix provide efficient calories for breakfast and lunch.
Water management is critical in bikepacking. Carry at least 2-3 liters of capacity on the bike plus a lightweight water filter for refilling from natural sources. Plan routes with known water sources and carry extra capacity in dry sections. Electrolyte tablets help maintain mineral balance during multi-day efforts in hot conditions.
Beyond standard mountain bike skills, bikepackers need basic mechanical repair abilities including fixing flats, adjusting brakes, repairing chains, and truing wheels. A multi-tool with chain breaker, spare quick links, tire plugs, and a small pump are essential kit. Practice overnight trips near home before heading into remote areas.
Campcraft skills including efficient tent setup, Leave No Trace principles, food storage in bear country, and weather assessment are equally important. Bikepacking in remote areas demands self-sufficiency. If something goes wrong, you may be hours or days from help. Carry a satellite messenger or personal locator beacon for true backcountry trips.
For your first bikepacking trip, choose a route with established campgrounds, reliable water sources, and bail-out points where you can cut the trip short if needed. Keep daily mileage modest at 20-30 miles. Focus on enjoying the experience rather than covering maximum distance. The goal is to return home excited to plan the next trip.
Bikepacking nutrition requires balancing calorie density, weight, and ease of preparation during brief stops. Target 3,000 to 5,000 calories per day depending on terrain, pack weight, and individual metabolism. Focus on high-calorie foods that pack small and require minimal cooking. Nut butters in squeeze packets, olive oil added to meals, dried fruit, and granola provide concentrated calories. For dinners, dehydrated meals rehydrated directly in the pouch save cleanup time and fuel. Eat frequently throughout the day rather than stopping for large meals, which cause energy crashes and waste daylight.
Hydration strategy differs from hiking because you can carry more water on a bike. Mount frame bags with water bottle cages, use a hydration pack, and carry a backup filter for refilling from natural sources. On long climbs in hot weather, you may drink 1 liter per hour. Plan routes with water sources every 15-20 miles and carry extra capacity in dry sections. Electrolyte replacement is critical during multi-day efforts. Use electrolyte tablets or powder added to water throughout the day rather than waiting until you feel dehydrated. Bonking from glycogen depletion on a loaded bike can be dangerous on technical descents, so eat before you feel hungry and drink before you feel thirsty.
Before any bikepacking trip, perform a thorough bike inspection and service. Check tire tread and sidewalls for cuts or excessive wear. Set tire pressure lower than your usual trail pressure for added traction and comfort with loaded bags. Clean and lubricate the drivetrain, checking for chain wear with a chain checker tool. Replace any chain that shows more than 0.5 percent wear to prevent drivetrain failure mid-trip. Inspect brake pads and rotors for wear, and bleed hydraulic brakes if the lever feel is spongy. A small mechanical issue at home becomes a trip-ending problem 50 miles from the nearest bike shop.
Pack essential tools and spares for self-supported repairs. Minimum kit includes: tire levers, spare tube, patch kit, mini pump or CO2 inflator, multi-tool with chain breaker, a pair of spare quick links matching your chain speed, small pliers for cable repairs, and a tire boot for sidewall cuts. Add a shift cable and brake pad set for trips longer than 3 days. Know how to use every tool you carry. Practice repairing a flat with loaded bags before your trip, as the process is significantly more awkward with frame bags and seat packs attached. A 5-minute home practice session saves 30 minutes of frustration on the trail.
Bikepacking with a group requires different considerations than solo travel. Establish a clear communication plan before starting. Agree on hand signals for hazards, stopping, and direction changes. Pace yourself to the slowest rider, especially on the first day when group fitness levels become apparent. Ride within your ability level loaded bikes handle differently on technical terrain. The added weight affects braking distance, cornering grip, and climbing traction. Schedule regroup points at trail junctions and significant climbs, and agree on how long to wait before sending a rider to check on someone.
Group gear sharing reduces individual pack weight. Divide the tent, cook system, and filter among group members so each person carries roughly the same total weight. A 2-person bikepacking pair can save 2-3 pounds each by sharing shelter and cooking gear. Discuss food preferences and dietary restrictions before the trip so meal planning accommodates everyone. Establish a daily routine for camp chores: who sets up shelter while others gather water or prepare dinner. A clear division of labor speeds camp setup and prevents the frustration of everyone waiting for one person to finish their tasks before the group can eat or rest.
Respecting other campers and the environment makes the experience better for everyone. Keep noise levels down, especially after quiet hours. Observe the 200-foot rule for setting up camp away from water sources and trails. Pack out all trash, including biodegradable items like apple cores, which take weeks to decompose in natural environments. Following these principles ensures campsites remain pristine for future visitors.
Testing your gear before heading into the backcountry prevents unpleasant surprises. Set up your tent in the backyard and spray it with a hose to check for leaks. Test your stove outside to ensure it lights and burns evenly. Break in new boots with short walks before a long hike. A pre-trip gear check takes an hour and can save you from a miserable night in the woods.