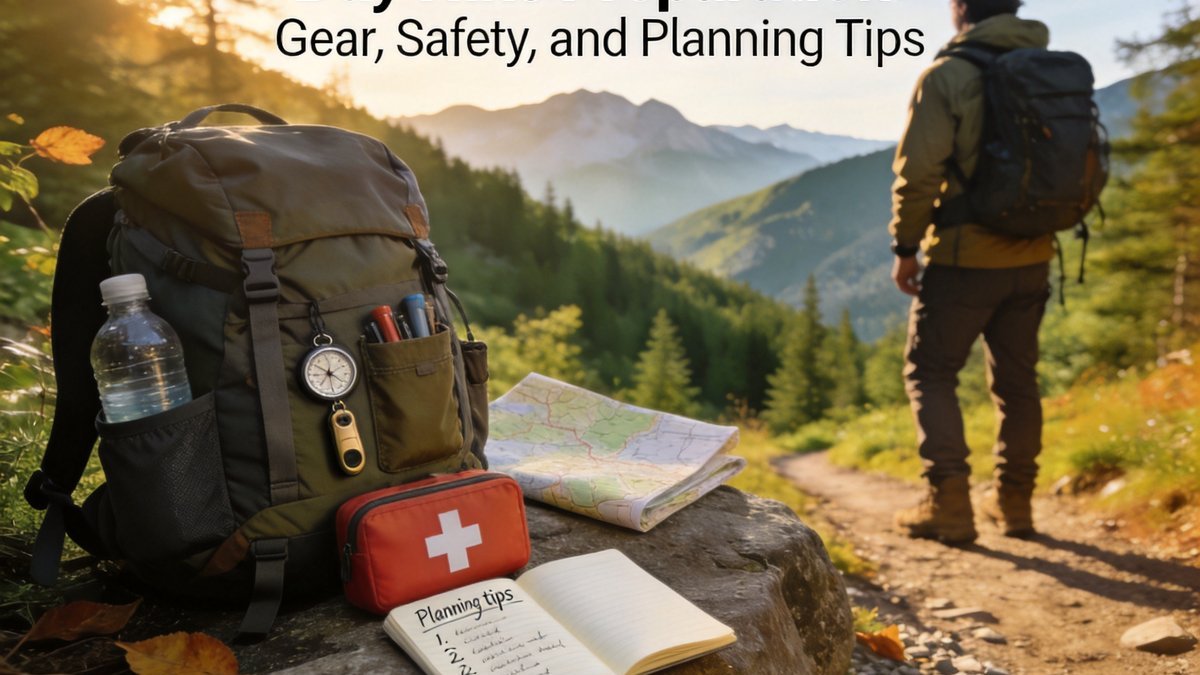
A day hike seems simple enough: park your car, walk a trail, come back. But the difference between a great day on the trail and a miserable one comes down to preparation. The right gear, a solid plan, and awareness of safety considerations transform a simple walk in the woods into a confident outdoor experience. This guide covers everything you need for a successful day hike.
Key Takeaways
- Always carry the Ten Essentials: navigation, headlamp, sun protection, first aid, knife, fire, shelter, food, water, and extra clothes.
- Share your trip plan with someone not on the hike. Include route, start time, expected return, and vehicle details.
- Pack one liter of water per two hours of hiking, plus extra for emergencies. Bring a water filter for longer hikes.
- Check weather forecasts and trail conditions before leaving. Turn back if conditions deteriorate.
The Ten Essentials for Every Day Hike
The Ten Essentials system originated in the 1930s and remains the gold standard for hiking preparedness. These items help you handle emergencies, unexpected weather changes, and navigation challenges. The list includes navigation tools like a map and compass, a headlamp with extra batteries, sun protection including sunscreen and sunglasses, a fully stocked first aid kit, a knife or multi-tool, fire-starting supplies, emergency shelter like a space blanket, extra food beyond your planned meals, extra water or purification method, and extra clothing layers. Experienced hikers adapt this list to their specific environment, adding items like bug nets in buggy areas, ice traction for snowy trails, or bear spray in bear country, but the core items remain consistent across all environments.
Planning Your Route and Timeline
Thorough route planning prevents most trail emergencies. Research your chosen trail thoroughly before leaving home. Note the total distance, elevation gain, trail surface conditions, and estimated completion time. A conservative estimate for moderate terrain is 30 minutes per mile plus 30 minutes per 1,000 feet of elevation gain. Add rest breaks and time for photography, lunch, and unexpected delays. Identify potential water sources, bailout points, and campsites along the route even if you plan a single-day hike. Download offline maps from apps like AllTrails or Gaia GPS before losing cell service. Write down key waypoints and their elevations as a backup to your phone. Leave a detailed trip plan with someone who will alert authorities if you do not return by your designated time.
Physical Preparation and Pacing
Day hiking requires less specialized training than backpacking, but basic fitness significantly improves your experience. Cardiovascular endurance matters more than raw strength for most trails. Regular walking, jogging, or cycling sessions build the aerobic base for sustained uphill travel. Practice with your fully loaded day pack before a significant hike to identify comfort issues and adjust straps. On the trail, maintain a steady pace that allows you to breathe comfortably in a conversation rhythm. Adjust your pace on steep sections, taking shorter steps rather than slowing your cadence. Use trekking poles to reduce knee impact on descents and improve stability on uneven terrain. Take a 5 to 10 minute break every hour to drink water, eat a snack, and check your surroundings.
Weather Awareness and Decision Making
Mountain weather changes rapidly and unpredictably. Check the forecast for the trailhead elevation and the highest point on your route, as conditions differ dramatically between these two locations. Learn to recognize signs of approaching storms, including rapidly building cumulus clouds, sudden wind shifts, and darkening horizons. If thunderstorms threaten, avoid ridgelines, exposed peaks, and solitary trees. Descend to lower elevation and avoid open water. Turn around well before you think you might need to. The summit will still be there another day. Hypothermia risk exists even in summer at higher elevations. Carry a waterproof jacket and an insulating layer regardless of the forecast. Wet clothing combined with wind and moderate temperatures creates dangerous conditions faster than most hikers expect.
The most important piece of safety equipment on any hike is your decision-making ability. No gear can replace the judgment to turn around when conditions deteriorate, skip a summit attempt when you are exhausted, or admit you are lost and stay put until help arrives.
The number one cause of hiking emergencies is not lack of gear or fitness. It is failing to communicate your plans. A detailed trip plan left with a responsible person turns a lost hiker situation from a tragedy into a rescue. Without it, search teams do not know where to start looking.
Frequently Asked Questions
How do I know if a trail is too difficult for me?
Research the trail's stats: distance, elevation gain, and technical difficulty. Compare to trails you have successfully completed. If the elevation gain per mile exceeds what you have done before, choose a shorter or flatter option. Read recent reviews on AllTrails for honest assessments of current conditions.
Can I hike alone safely?
Solo hiking is safe with proper preparation. Choose popular trails, tell someone your exact route and return time, carry communication devices, and stay within your limits. Start with well-trafficked trails before venturing onto remote paths alone. A personal locator beacon provides an extra safety net for solo hikers.
What snacks should I bring for a day hike?
Pack a mix of carbohydrates, protein, and fats for sustained energy. Trail mix, energy bars, fresh fruit, sandwiches, nuts, and electrolyte packets work well. Avoid foods that melt or crush easily. Pack about 250 to 300 calories per hour of hiking and eat before you feel hungry.
How do I prevent blisters on the trail?
Blisters start with friction. Wear properly fitted shoes that are broken in. Use merino wool or synthetic socks that wick moisture away from your skin. Apply athletic tape or blister prevention balm to known hot spots before you start hiking. Stop at the first sign of a hot spot and apply a blister bandage immediately.