Table of Contents
Learn essential mountain bike maintenance including drivetrain cleaning, suspension setup, brake bleeding, and tire repair to keep your bike performing all year.
Jordan Myers
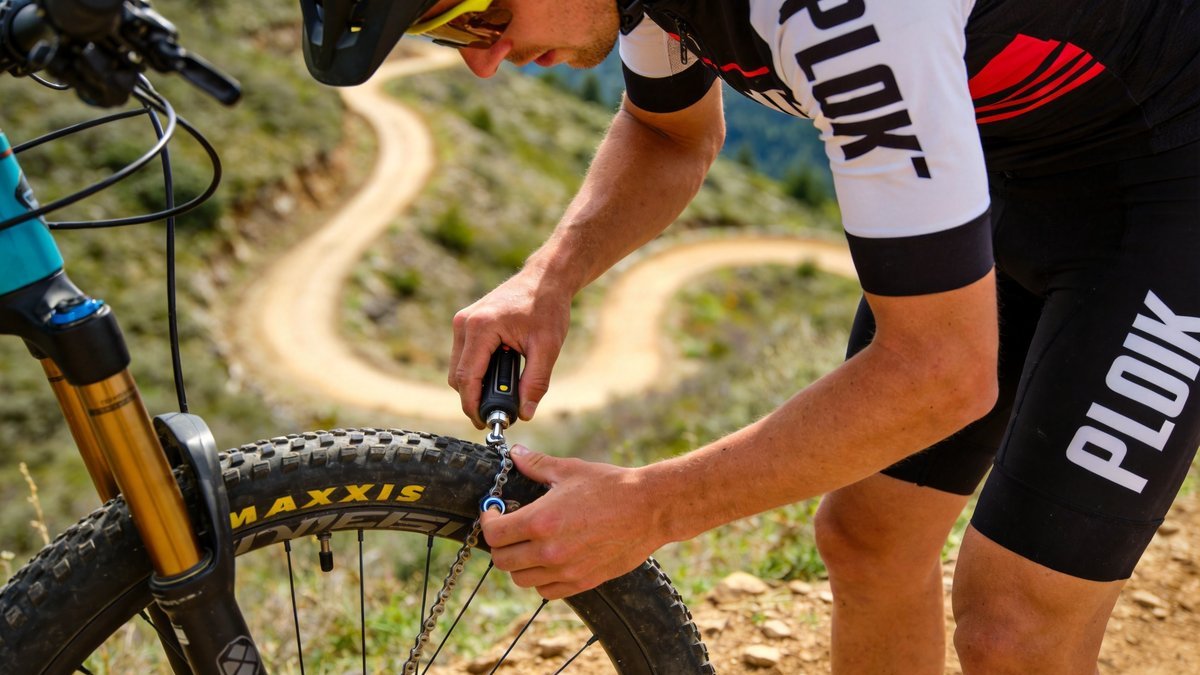
Learn essential mountain bike maintenance including drivetrain cleaning, suspension setup, brake bleeding, and tire repair to keep your bike performing all year.
Learn essential mountain bike maintenance including drivetrain cleaning, suspension setup, brake bleeding, and tire repair to keep your bike performing all year.
Mountain bikes endure extreme conditions that road bikes never encounter. Mud, dust, water, and constant vibration accelerate wear on every component. Regular maintenance not only extends the life of your bike but also prevents mechanical failures that could leave you stranded miles from the trailhead. A well-maintained bike shifts better, brakes more reliably, and simply feels more enjoyable to ride.
The cost of preventive maintenance is dramatically lower than the cost of replacing worn-out components. A five-dollar chain cleaning saves a hundred-dollar cassette replacement. A thirty-minute suspension inspection prevents a three-hundred-dollar shock rebuild. Building a regular maintenance habit is the single best investment you can make in your mountain biking experience.
Your mountain bike is a precision machine operating in a hostile environment. Mud and grit are abrasive pastes that grind away metal surfaces with every pedal stroke. Clean your drivetrain after every muddy ride, and your components will last three to four times longer.
You do not need a professional workshop to maintain your mountain bike effectively. A basic home toolkit should include a torque wrench (3-15 Nm range), a chain wear indicator, a shock pump with digital gauge, hex wrenches (2-8mm), a chain whip and cassette lockring tool, tire levers, and a floor pump with pressure gauge. Quality tools pay for themselves in saved shop labor costs within a few maintenance sessions.
A bike stand is highly recommended but not essential. If you do not have a stand, you can flip the bike upside down for drivetrain work, though be careful with hydraulic brake reservoirs and dropper post controls. Work stands from Park Tool, Feedback Sports, or Topeak offer good value for home mechanics.
Stock up on chain lubricant (wet and dry formulas for different conditions), disc brake cleaner, suspension setup sag bands, hydraulic brake fluid (DOT or mineral oil depending on your brakes), and spare tubeless tire plugs. Having these items available means you can address issues immediately rather than letting them worsen.
The drivetrain accumulates the most dirt and requires the most frequent attention. After every muddy ride, clean the chain, cassette, and derailleur pulleys with a biodegradable degreaser and a stiff brush. Avoid high-pressure water, which forces grit into bearings. After cleaning, dry the chain thoroughly and apply lubricant to each roller, then wipe off excess.
Check chain wear every month using a chain wear indicator tool. A worn chain accelerates cassette and chainring wear significantly. Replace the chain when wear reaches 0.5% for 1x drivetrains or 0.75% for 2x/3x systems. Ignoring chain wear and riding until the chain skips under load means replacing the entire drivetrain instead of just the chain.
The most common mountain bike maintenance mistake is overlubrication. Excess lubricant attracts dirt and creates grinding paste. Apply lubricant to the chain rollers only, let it penetrate for five minutes, then wipe every drop off the outside of the chain. A dry-looking chain is a clean chain.
Proper suspension setup transforms how your bike handles. Start with sag adjustment: set air pressure so the suspension compresses 20-30% of total travel under your body weight with riding gear. Most forks and shocks have a sag ring or O-ring that shows how much travel you are using. Adjust pressure in 5-10 PSI increments until sag is correct.
Rebound damping controls how quickly the suspension extends after compressing. Too fast and the bike feels bouncy and unstable. Too slow and the suspension packs down over consecutive bumps. Set rebound so the suspension extends at a controlled rate that matches your riding style. Compression damping fine-tunes how the suspension reacts to trail impact forces.
Clean and inspect fork stanchions and shock shafts after every ride. Perform a lower leg service (fork) every 50 hours of riding. Full suspension rebuilds are needed every 100-200 hours depending on conditions. Follow your suspension manufacturer's service intervals rather than waiting for performance degradation to remind you.
Mountain bike brakes lose performance gradually, making it easy to miss the warning signs. If brake levers feel spongy, pull to the bar, or require more finger force than usual, your brakes need bleeding. Brake bleeding removes air bubbles from the hydraulic system and restores firm lever feel. The process takes about 30 minutes per brake with a bleed kit.
Brake pads wear faster in mountain biking than any other cycling discipline due to mud and grit. Check pad thickness through the caliper sight window before every ride. Replace pads when the friction material thickness matches the backing plate thickness. Sintered (metal) pads last longer and perform better in wet conditions, while organic pads offer more modulation and quieter operation.
Most mountain bikers have converted to tubeless tire systems, which reduce flats, improve traction, and save rotational weight. The key to reliable tubeless performance is maintaining adequate sealant levels. Check sealant every 4-6 weeks and top up as needed. When sealant dries out, tires lose air rapidly and punctures will not seal.
Carry a tubeless plug kit and a small pump or CO2 inflator on every ride. When you puncture on the trail, remove the object, insert a plug with the reamer tool, trim it flush, and reinflate. Most punctures up to about 6mm seal reliably with plugs. For sidewall cuts or larger holes, install a tube temporarily and replace the tire after the ride.
Developing a consistent navigation routine keeps you oriented throughout the day. Every time you stop for a water break or snack, pull out your map and identify your current location. Note the next landmark you expect to see and the approximate time to reach it. This habit of regular map checks prevents the gradual disorientation that leads to getting lost. Experienced hikers recommend taking a bearing every 30 to 45 minutes in unfamiliar terrain, even when the trail seems obvious.
Before any hike, study the route on a map and identify key waypoints, bailout points, and potential hazards. Note the direction of ridges, valleys, and water features so you can use them as natural handrails. Share your planned route with someone who will notice if you do not return on time. Proper pre-trip planning transforms a potentially stressful navigation challenge into an enjoyable day on the trail.
When hiking in a group, designate a dedicated navigator rather than assuming everyone knows the route. This prevents the common scenario where each person thinks someone else is leading. At every junction, confirm the correct direction as a group before proceeding. A quick group check takes thirty seconds but can save hours of backtracking if the wrong turn is taken.
Developing a consistent navigation routine keeps you oriented throughout the day. Every time you stop for a water break or snack, pull out your map and identify your current location. Note the next landmark you expect to see and the approximate time to reach it. This habit of regular map checks prevents the gradual disorientation that leads to getting lost. Experienced hikers recommend taking a bearing every 30 to 45 minutes in unfamiliar terrain, even when the trail seems obvious.
Before any hike, study the route on a map and identify key waypoints, bailout points, and potential hazards. Note the direction of ridges, valleys, and water features so you can use them as natural handrails. Share your planned route with someone who will notice if you do not return on time. Proper pre-trip planning transforms a potentially stressful navigation challenge into an enjoyable day on the trail.
When hiking in a group, designate a dedicated navigator rather than assuming everyone knows the route. This prevents the common scenario where each person thinks someone else is leading. At every junction, confirm the correct direction as a group before proceeding. A quick group check takes thirty seconds but can save hours of backtracking if the wrong turn is taken.
Developing a consistent navigation routine keeps you oriented throughout the day. Every time you stop for a water break or snack, pull out your map and identify your current location. Note the next landmark you expect to see and the approximate time to reach it. This habit of regular map checks prevents the gradual disorientation that leads to getting lost. Experienced hikers recommend taking a bearing every 30 to 45 minutes in unfamiliar terrain, even when the trail seems obvious.
Before any hike, study the route on a map and identify key waypoints, bailout points, and potential hazards. Note the direction of ridges, valleys, and water features so you can use them as natural handrails. Share your planned route with someone who will notice if you do not return on time. Proper pre-trip planning transforms a potentially stressful navigation challenge into an enjoyable day on the trail.
When hiking in a group, designate a dedicated navigator rather than assuming everyone knows the route. This prevents the common scenario where each person thinks someone else is leading. At every junction, confirm the correct direction as a group before proceeding. A quick group check takes thirty seconds but can save hours of backtracking if the wrong turn is taken.