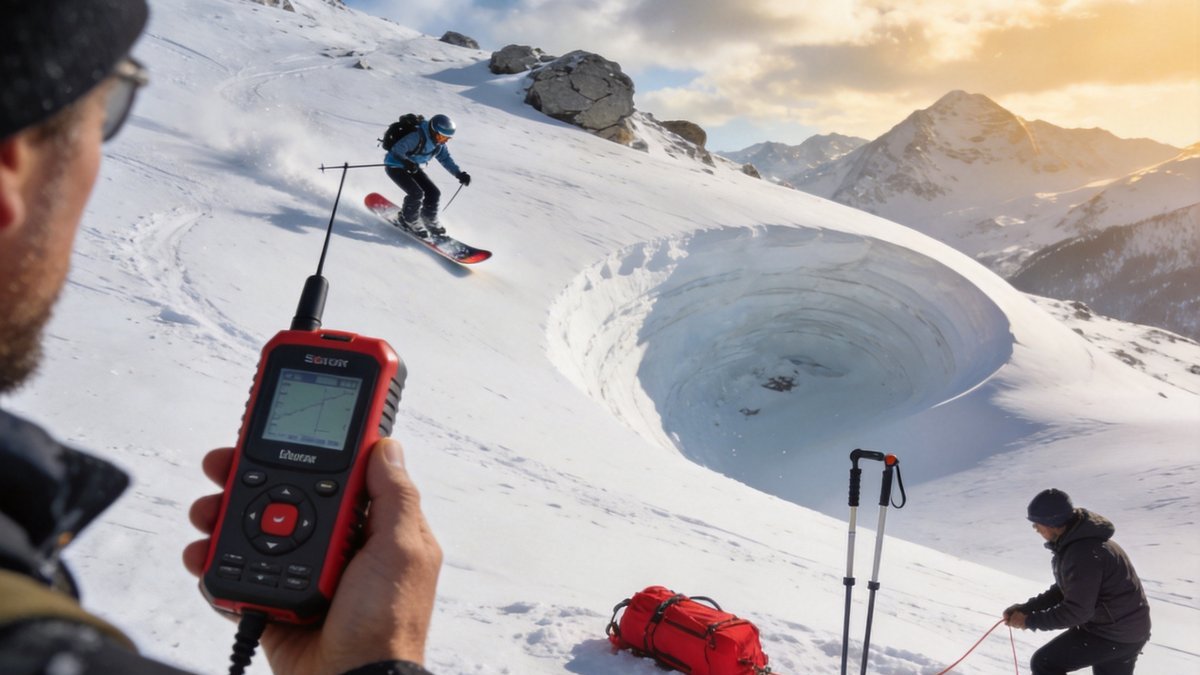
Avalanche safety is the most critical knowledge for winter backcountry travelers. Understanding terrain, snowpack, and rescue techniques can save your life and your companions lives.
Key Takeaways
- The three avalanche problems that cause most accidents are new snow, wind-loaded slopes, and persistent weak layers. Learning to identify these conditions is the foundation of avalanche safety.
- Terrain assessment is the most effective avalanche risk mitigation strategy. Avoid slopes between 30 and 45 degrees when avalanche danger is elevated.
- Carry avalanche safety equipment on every backcountry trip: beacon, probe, and shovel. Practice with your equipment until rescue skills become automatic.
- The decision to turn around is the most important safety decision you will make in avalanche terrain. Ego and summit fever kill more backcountry travelers than avalanches themselves.
Understanding Avalanche Terrain
Slope angle is the most important factor in avalanche terrain assessment. Most avalanches occur on slopes between 30 and 45 degrees. Slopes under 25 degrees rarely avalanche. Slopes over 55 degrees shed snow continuously, preventing slab formation. Learn to assess slope angles using contour lines on topographic maps and inclinometer tools on your compass or app.
Terrain features influence avalanche likelihood and consequences. Convex slopes where the terrain steepens downward create tension in the snowpack and are prone to triggering. Gullies and couloirs concentrate snow and channel avalanflows. Cornices overhanging ridgetopss can break unexpectedly and trigger avalanches on the slope below. Ridge tops provide the safest travel routes in avalanche terrain.
Aspect relative to sun and wind affects snowpack development. North-facing slopes hold colder snow that develops persistent weak layers more readily. South-facing slopes experience more freeze-thaw cycles that stabilize the snowpack. Wind-loaded slopes on the lee side of ridges accumulate deeper snow and form dangerous wind slabs. Pay attention to aspect when assessing avalanche risk in any area.
Snowpack Evaluation Techniques
Snowpack evaluation starts with understanding avalanche problems in your region. Avalanche forecasts from local avalanche centers describe current problems including storm slabs, wind slabs, persistent weak layers, and wet avalanches. Check the forecast before every backcountry trip and adjust your plans based on the described problems. No amount of field testing replaces the information in a professional forecast.
Snow pits provide detailed snowpack information. Dig a pit at least one meter deep on a slope similar to your planned route. Identify snow layers by texture, hardness, and grain type. The compression test and extended column test evaluate layer bonding. These tests provide information about snowpack structure but require training to interpret correctly. Take an avalanche safety course to learn proper snow pit techniques.
Snowpack tests include hand hardness tests, rutschblock tests, and propagation tests. Each test provides information about layer bonding and fracture propagation potential. The extended column test is the most widely used field test for assessing propagation propensity. Practice these tests under professional guidance before relying on them for decision-making.
Beacon Use and Transceiver Skills
Avalanche transceivers transmit and receive signals on the international frequency of 457 kilohertz. Modern digital transceivers provide directional arrows and distance readings to speed searches. Analog transceivers offer better range but require more skill to use effectively. Choose a transceiver you practice with regularly rather than one based solely on features.
Single-burial beacon searches follow a systematic process. Switch to receive mode immediately upon witnessing an avalanche. Perform a quick search to establish signal contact, typically within 40-80 meters of the last seen point. Follow the signal direction arrows and distance readings to locate the burial. Reduce search strip spacing as you approach the victim. Pinpoint the exact location using the transceiver's marking function.
Multiple burial scenarios require advanced search techniques. Most modern transceivers automatically handle multiple burials by locking onto the strongest signal first then switching to weaker signals. Practice multiple burial searches with your specific transceiver model. In a multiple burial situation, prioritize burials with the highest chance of survival: those buried less deeply and for shorter durations.
Probe and Shovel Rescue Techniques
Probe technique starts after the beacon has pinpointed the burial location within one square meter. Assemble your probe fully before probing. Insert the probe perpendicular to the slope, checking every 25 centimeters in a grid pattern. When you strike the victim, leave the probe in place as a marker. Mark the burial location with a visible object such as a pole or backpack before starting the digging.
Shoveling technique is critical for rapid extrication. The most effective digging strategy uses a V-shaped trench approach from downhill of the victim. This allows snow to slide downhill as you dig, clearing the burial site faster than digging straight down. Work in teams of two or three with coordinated shoveling. One person digs while others clear snow. Rotate positions to prevent fatigue.
Organized rescue response begins after all buried victims are located. Assess vital signs and provide first aid including airway management, spinal precautions if indicated, and hypothermia treatment. Evacuate the victim to definitive care as quickly as possible. If cell service is available, call 911 or activate a satellite messenger. Designate one person to coordinate the rescue response.
Decision-Making and Risk Management
The Avaluator and other decision-making frameworks help structure avalanche risk assessment. These systems evaluate terrain, snowpack, weather, and human factors to guide trip planning and route selection. The most effective decision-making integrates multiple information sources rather than relying on a single test or observation. Check conditions daily and adjust your plan continuously.
Human factors cause most avalanche accidents. Group dynamics, goal commitment, familiarity with terrain, and cognitive biases lead travelers to make poor decisions despite clear warning signs. The normalization of risk occurs when groups gradually accept more danger over multiple trips. Recognize these psychological factors and consciously counter them with structured decision-making processes.
The most important decision is choosing not to enter avalanche terrain. One hundred percent of avalanche victims were in avalanche terrain when they were caught. If avalanche danger is considerable, high, or extreme, choose terrain that avoids avalanche slopes entirely. Low-angle terrain, dense forests, and ridge tops provide safe travel options even during high avalanche danger periods.
"Avalanches do not care about your experience level, your fitness, or your rescue training. They respond only to snowpack conditions and terrain. The most humble approach to avalanche safety is accepting that you can be caught regardless of preparation."
"The beacon, probe, and shovel in your pack are not talismans that protect you from avalanches. They are rescue tools that give your companions a chance to save you after you have made a terrain decision that went wrong. Preventing the burial is always better than perfecting the rescue."
Frequently Asked Questions
Do I need avalanche safety training for backcountry travel?
Absolutely. Avalanche safety training is essential for anyone traveling in backcountry terrain during winter. Take an AIARE Level 1 course or equivalent from a certified provider. This course covers terrain assessment, snowpack evaluation, rescue techniques, and decision-making. Refresher courses and Level 2 training build on foundational knowledge for experienced travelers.
Can I assess avalanche danger without formal training?
Basic avalanche awareness can be gained through online resources and guidebooks, but field skills require hands-on training. Avalanche forecasts from local centers provide current danger ratings and problem descriptions. However, interpreting forecast information and applying it to specific terrain requires training. Formal avalanche education is strongly recommended.
What avalanche equipment is essential for backcountry travel?
Essential avalanche safety equipment includes a digital avalanche transceiver, collapsible probe at least 240 centimeters long, and a metal-blade snow shovel. Carry this equipment on every backcountry trip regardless of avalanche danger rating. Store equipment where it is accessible, not buried in your pack. Batteries should be fresh and tested before each season.
How long does an avalanche victim typically survive?
Survival statistics follow a stark timeline. About 90 percent of avalanche victims survive if rescued within 15 minutes. Survival drops to 30 percent after 35 minutes of burial and only 20 percent after two hours. Cause of death is typically asphyxiation or trauma. This timeline emphasizes the importance of immediate companion rescue rather than waiting for organized response teams.