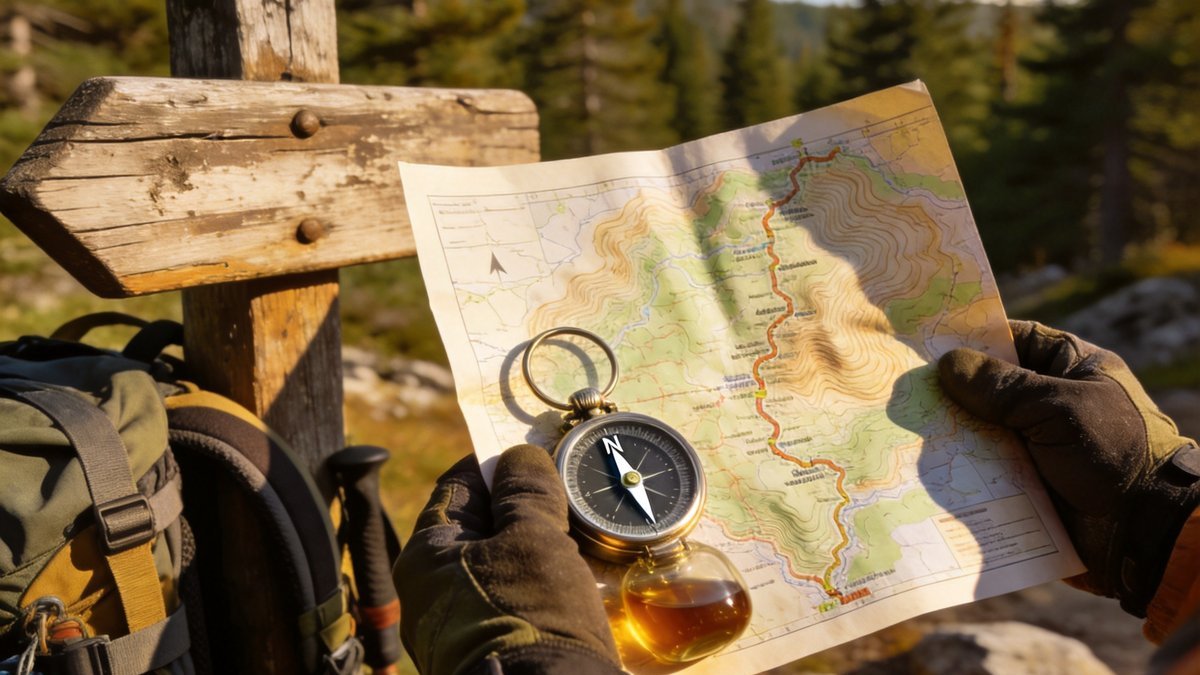
Knowing where you are and where you are going is the most fundamental skill in backcountry travel. Master map and compass navigation before venturing beyond marked trails.
Key Takeaways
- A paper map and compass remain the most reliable navigation tools in the backcountry. They never run out of batteries and work in all weather conditions.
- Practice taking bearings, reading contour lines, and identifying terrain features before you need these skills in an emergency.
- Always carry a backup navigation method. GPS devices complement map and compass skills but should never replace them entirely.
- Navigation failures often happen gradually. Regularly check your position against known landmarks to catch mistakes early before they compound.
Reading Topographic Maps
A topographic map represents three-dimensional terrain on a two-dimensional surface using contour lines. Each contour line connects points of equal elevation. The spacing between lines indicates steepness: closely spaced lines mean steep terrain, while widely spaced lines indicate gentle slopes. Understanding contour lines allows you to visualize ridges, valleys, cliffs, and gentle slopes without seeing the actual terrain.
Map scale determines the level of detail available. A 1:24,000 scale map covers a small area with high detail, showing individual trails, streams, and buildings. A 1:100,000 scale map covers a larger area but with less detail. Most backpackers carry 1:24,000 maps for navigation-intensive travel and 1:100,000 maps for route planning. The United States Geological Survey produces standard 7.5-minute quadrangle maps at 1:24,000 scale.
Map symbols convey specific information about the landscape. Blue features are water-related: streams, lakes, springs, and marshes. Green shading indicates vegetation density. Brown contour lines show elevation. Black features are man-made structures including trails, roads, and buildings. Red lines highlight major roads and survey boundaries. Learning these symbols allows you to read a map almost as clearly as looking at the landscape.
Compass Basics and Bearings
A baseplate compass with a rotating bezel, declination adjustment, and sighting mirror provides everything you need for backcountry navigation. The compass needle always points to magnetic north, which differs from true north by a variable amount called declination. Setting your compass declination before you hit the trail eliminates the need for mental calculations while navigating.
Taking a bearing from a map allows you to determine the direction you need to travel. Place your compass on the map with the edge connecting your current position to your destination. Rotate the bezel until the orienting lines align with the map's north-south grid lines. Read the bearing at the index line and follow the direction of travel arrow. Practice this skill at home before relying on it in the backcountry.
Taking a bearing from a visible landmark helps you determine your position. Point the direction of travel arrow at the landmark. Rotate the bezel until the red end of the needle aligns with the orienting arrow. Read the bearing at the index line. This technique, combined with triangulation from two or three landmarks, allows you to pinpoint your location on the map.
Triangulation and Position Finding
Triangulation determines your precise location by taking bearings on two or three visible landmarks. Identify prominent features on your map such as mountain peaks, ridge intersections, or distinctive rock formations. Take a bearing to each feature using your compass. Draw a line from each feature on the map along the reciprocal bearing. Your position is approximately where the lines intersect.
Collecting features is essential when the landscape does not present obvious landmarks. A collecting feature is a linear feature such as a trail, stream, or ridge that you cannot miss. Navigate to the collecting feature first, then use your map to determine your exact location along it. This technique reduces navigation errors when traveling through featureless terrain or low visibility conditions.
Attack points break a long navigation segment into manageable pieces. Choose an obvious landmark near your destination such as a lake, trail junction, or distinctive hill. Navigate to the attack point first, then make a final precise navigation leg to your destination. This technique reduces cumulative navigation error and builds confidence in your route-finding.
GPS Navigation Strategies
GPS devices and smartphone apps provide convenient position information but have limitations that every navigator must understand. GPS signals require a clear view of the sky and may fail in dense forests, deep canyons, or during heavy cloud cover. Battery life limits device usage, and cold temperatures accelerate battery drain. A GPS device is a supplement to map and compass skills, not a replacement.
Pre-download maps and routes before leaving cellular service range. Apps like Gaia GPS, AllTrails, and Avenza Maps provide offline map functionality. Download topo maps at the highest available detail level for your route area. Pre-mark waypoints at trail junctions, campsites, water sources, and potential hazards to speed navigation during your trip.
Use your GPS device strategically to conserve battery life. Turn on the device periodically to check your position rather than running it continuously. Take bearings from the GPS display and follow them with your compass. Carry a fully charged power bank for multi-day trips. Many satellite communicators offer navigation features with significantly longer battery life than smartphones.
Navigation in Low Visibility Conditions
Fog, rain, snow, and darkness challenge even experienced navigators. In low visibility, navigation errors compound quickly because you cannot see distant landmarks for position confirmation. Slow down, shorten your navigation legs, and check your position more frequently. A pace count recorded on a simple tally counter provides reliable distance measurement when you cannot see the trail ahead.
Handrailing follows a linear feature such as a trail, stream, ridge, or forest edge to maintain your direction. Choose a handrail that runs roughly parallel to your intended route and follow it until you reach a known point near your destination. This simple technique prevents disorientation in low visibility without requiring frequent compass checks.
Know when to stop and wait for better visibility. Pushing through dense fog or darkness when you are unsure of your position increases the risk of injury or getting lost. Set up camp, build a fire, and wait for conditions to improve. A night spent in an unplanned location is far better than a night spent lost and injured.
"The most dangerous navigation phrase in the backcountry is I think this is the right trail. When you are unsure of your position, stop immediately, take out your map and compass, and confirm your location before proceeding a single step further."
"Navigation skills are not difficult to learn, but they require practice to maintain. Spend a few hours practicing map and compass skills in a familiar area each season before venturing into unfamiliar terrain."
Frequently Asked Questions
What compass should I buy for backcountry navigation?
A baseplate compass with adjustable declination is essential for wilderness navigation. The Suunto MC-2 and Silva Ranger are excellent choices that offer sighting mirrors, declination adjustment, and durable construction. Budget-friendly options like the Silva Starter provide adequate functionality for most hikers.
Can I rely solely on my phone for navigation?
Smartphone navigation apps are excellent tools, but they cannot replace a map and compass entirely. Phone batteries die, screens break, and GPS signals fail. Carry a paper map and compass as your primary navigation tools and use your phone as a convenient supplement. Download offline maps before every trip.
How do I navigate above treeline without obvious landmarks?
Above treeline, navigation relies heavily on compass bearings and careful distance measurement. Use pace counting to measure distance traveled. Identify subtle terrain features on your map such as ridge contours and drainage patterns. In whiteout conditions, stop and wait for visibility to improve rather than pushing forward without visual references.
What should I do if I realize I am lost?
Stop moving as soon as you realize you might be lost. Sit down, get out your map and compass, and try to determine your position. If you cannot determine your location, stay where you are and make yourself visible. Most lost hikers are found within 24 hours if they stay put. Continuing to move when lost only makes search and rescue more difficult.