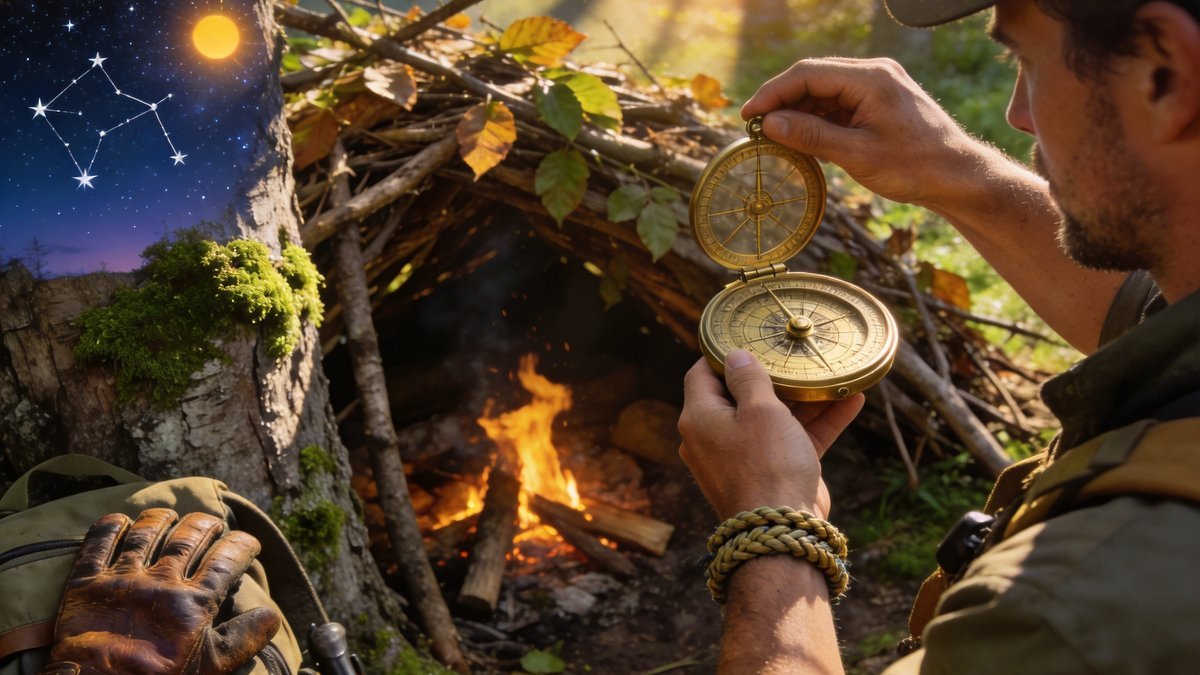
GPS devices and smartphone apps have transformed navigation, but they share a critical vulnerability: they stop working when batteries die or signals fail. Understanding how to navigate using natural signs and celestial bodies ensures you can always find your way.
Key Takeaways
- The sun rises in the east and sets in the west. At noon in the northern hemisphere, the sun is due south.
- The North Star (Polaris) remains fixed above true north. Find it using the Big Dipper pointer stars.
- Natural signs like moss growth provide directional clues but are not reliable enough for precise navigation.
- Combine multiple methods for most reliable results. The more methods agree, the more confident your direction.
Solar Navigation
The sun rises in the east, reaches its highest point due south at solar noon in the northern hemisphere, and sets in the west. The shadow-tip method: place a 3-foot stick vertically in level ground. Mark the shadow tip. Wait 10 to 15 minutes and mark the new tip. The line between the two marks runs east-west. The first mark points west. In the southern hemisphere, the sun is due north at noon.
Night Navigation: Stars
The North Star, Polaris, marks true north within one degree. Find it using the two pointer stars at the end of the Big Dipper bowl. Measure five times the distance between these stars in the direction they indicate. In the southern hemisphere, the Southern Cross indicates south. Extend its long axis four and a half times, then drop a vertical line to the horizon.
Natural Navigation Signs
Moss tends to grow on the north side of trees in the northern hemisphere but this is a general tendency, not a reliable rule. Tree branches grow more densely on the south side. Ant hills slope more gently on the south side. Snow melts faster on south-facing slopes. Use these signs as confirmation of direction rather than primary methods.
Dead Reckoning
Track your position by estimating distance and direction traveled. Count paces to measure distance. Record navigation decisions at each junction or landmark. Take back bearings every 30 minutes. When lost, use aiming-off: deliberately aim slightly to one side of your destination so when you hit a linear feature like a road, you know which direction to turn.
When you realize you might be lost, stop. Do not walk farther. Sit down, eat, drink, and think about your last known location. Panic drives people deeper into the wilderness.
The best navigator is not the one with the most expensive GPS. It is the one who pays attention, notes landmarks, looks back frequently, and could find home without electronics.
Using a Compass with a Map: Declination and Bearings
A compass is useless without understanding declination. Magnetic north and true north differ by a varying angle called declination, which changes based on your location. In the eastern United States, declination ranges from 0 to 15 degrees west. In the western states, it ranges from 10 to 20 degrees east. Topographic maps show declination in the margin. Set your compass declination before heading into the field. Adjustable compasses like the Silva Ranger or Suunto MC-2 allow you to set declination permanently so all bearings read true north automatically.
Taking a bearing from a map to the terrain is straightforward. Place your compass on the map with the edge along your desired travel line, direction of travel arrow pointing toward your destination. Rotate the compass housing until the orienting lines align with the map's north-south grid lines. Read the bearing at the index line. In the field, hold the compass level, rotate your body until the magnetic needle aligns with the orienting arrow, and follow the direction of travel arrow. Pick a landmark along your bearing and walk to it before taking another bearing. This leapfrog technique prevents gradual drift off course.
Route Planning with Terrain Features and Handrailing
Handrailing uses linear terrain features as natural guides. A ridge line, stream, fence line, road, or valley edge serves as a handrail that keeps you on course without constant compass checks. Identify handrails on your map before the trip and plan your route to follow them whenever possible. Aiming off is a related technique: deliberately aim slightly left or right of your destination so that when you hit a linear feature like a trail or river, you know which direction to turn. This prevents the common error of reaching a feature but not knowing which way to go.
Catching features are prominent landmarks that tell you where you are when you reach them. A lake, distinctive peak, road junction, or power line serves as a catching feature beyond your destination. If you miss your target, you will hit the catching feature and know you have gone too far. Identify these on your map before setting out. Backstops are features beyond your destination that you cannot miss, such as a major river or highway. In poor visibility, navigation relies heavily on catching features and backstops. Always identify your catching feature and backstop before departing, especially when traveling in fog, forest, or featureless terrain where visibility is limited.
GPS Devices and Smartphone Navigation Apps
GPS devices and smartphone apps have made wilderness navigation more accessible than ever, but they require understanding their limitations. Dedicated GPS devices like the Garmin GPSMap series offer longer battery life, better satellite reception under tree cover, and greater durability than smartphones. They work in all weather conditions and the screens are readable in direct sunlight. Smartphone apps like Gaia GPS, AllTrails, and Caltopo provide excellent mapping with aerial imagery, slope angle shading, and crowd-sourced trail information. Download maps for offline use before leaving cell service, as most backcountry areas have no data connection.
Electronic navigation has critical vulnerabilities. Batteries die, screens break, devices get dropped in water, and GPS signals can be blocked by deep canyons or dense tree cover. Cold weather dramatically reduces battery life, with lithium batteries losing 30-50 percent of their capacity below freezing. The most common navigation failure is relying on a device that runs out of power on day two of a five-day trip. Carry a power bank for multi-day trips. Always carry a paper map and compass as backup, and practice using them before you need them. GPS is a convenience tool, not a substitute for traditional navigation skills.
Pacing and Time Estimation for Navigation
Knowing your pace count and travel speed is essential for navigation in poor visibility. A standard pace is two steps, with 60-70 paces per 100 meters on flat terrain for an average person. Measure your pace count on known distances at different elevations and with different pack weights. On flat, easy terrain with a light pack, expect 3 miles per hour. Moderate terrain with a full pack reduces speed to 2 miles per hour. Steep, rugged terrain or bushwhacking drops speed to 0.5-1 mile per hour. Add 30 minutes for every 1000 feet of elevation gain when estimating travel time.
Use the terrain to adjust your time estimates. Cross-country travel without trails is 2-3 times slower than trail travel. Dense brush, talus fields, downed timber, and marshland all dramatically slow progress. Stream crossings add 15-30 minutes each. Navigation checks take time: stopping, reading the map, taking a bearing, and confirming location takes 3-5 minutes each time. In fog or whiteout conditions, you may need to check navigation every 10-15 minutes. Build these factors into your time estimates rather than assuming ideal conditions. A realistic estimate prevents the dangerous situation of being caught out after dark because your GPS said 2 hours but the terrain required 4.
Frequently Asked Questions
Can I navigate by the moon?
Yes. The moon's illuminated side faces west in the first quarter and east in the last quarter in the northern hemisphere.
How accurate is celestial navigation?
Within a few degrees when done correctly. Polaris indicates true north within one degree.
What do I do if I am lost without tools?
Stay put. Signal with three of anything: three whistle blasts, three flashes. If you must move, travel downhill to find water, then follow water downstream.
Do compasses work everywhere?
Yes, but they point to magnetic north, not true north. Adjust for magnetic declination which varies by location.